
How to Finish Hardwood Flooring: The Ultimate Guide
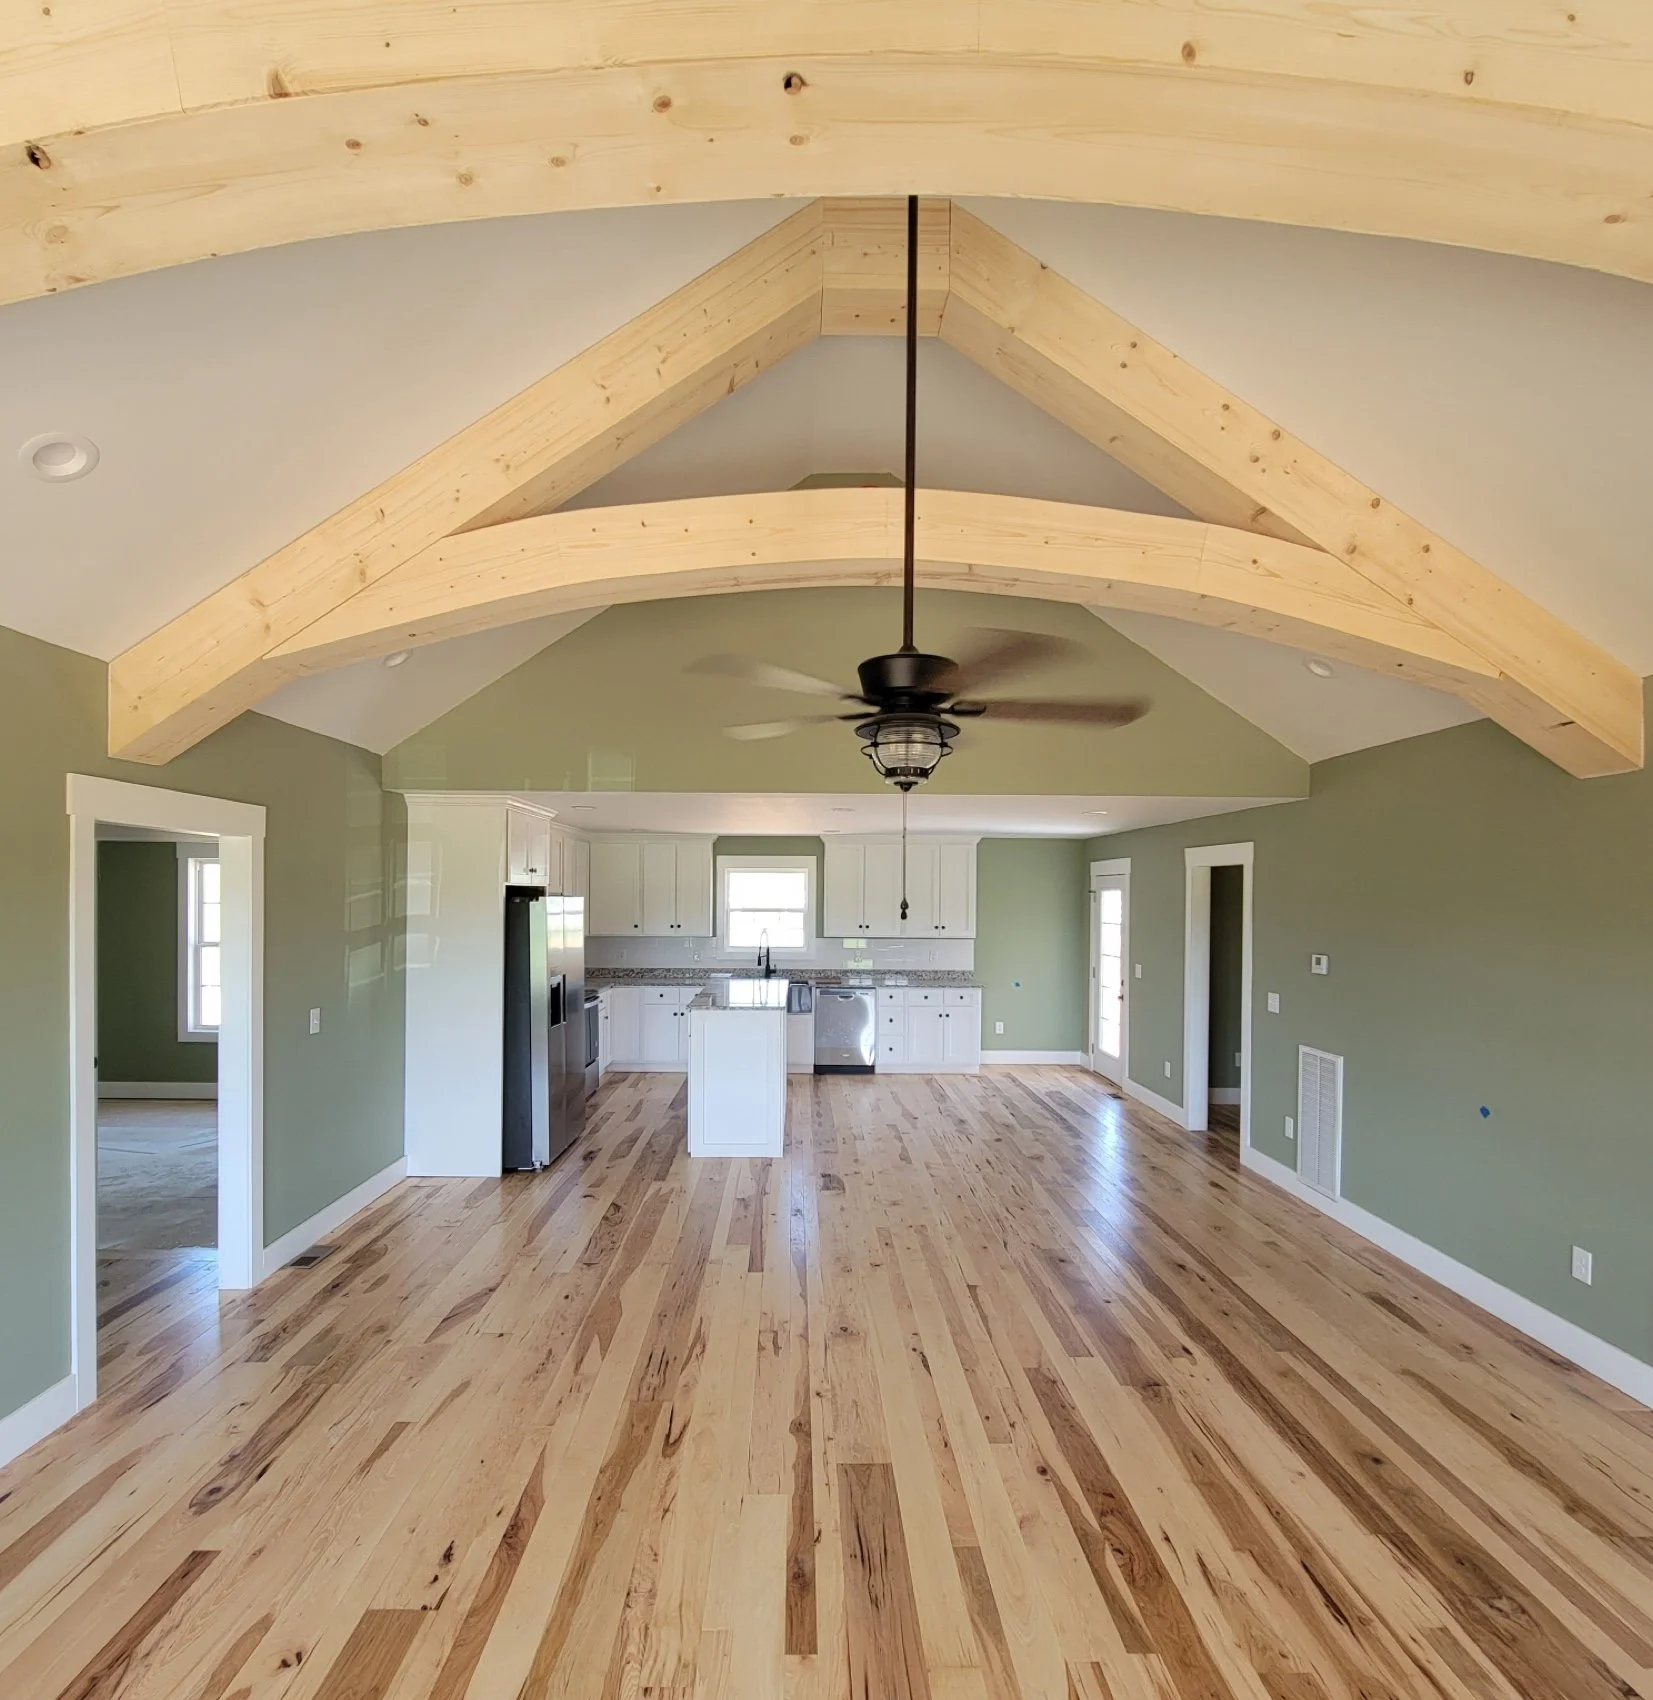


Hardwood floors are a timeless and elegant addition to any home or space. They provide warmth, beauty, and durability, making them the go-to option for homeowners hoping to add tons of character and beauty to their home.
Arguably the most crucial aspect of installing hardwood floors is finishing them. Properly finishing hardwood floors not only enhances their natural beauty but also protects them from daily wear and tear. In this blog post, we will explore the essential steps involved in finishing hardwood floors to achieve a stunning, long-lasting, character filled result.
So without further ado, lets get started!

Tools and Materials Needed:
- Shop Vac
- Random–orbit sander (Round and Triangular attachment recommended)
- 80-, 120- and 220-grit sandpaper
- You may need to rent an electric floor sander with a green or red abrasive pad (for reclaimed barn wood only)
- Black epoxy or Clear epoxy (for filling missing knot holes, if desired)
- Duck Tape (for backing missing knot holes to prevent epoxy from running out the bottom)
- Oil-based stain for the most vibrant color in hardwoods, Gel-based for a consistent finish on poplar, or Waterborne if you need a quick-drying, low-smell option
- Natural Fiber Paint Brush (for applying Gel or oil-based stain/finish) or Synthetic Fiber Brush (Water-based products)
- Cloth Rags (for wiping stain off)
- Floor Sealer (if using waterborne finish, this acts as a bonding primer between your wood flooring and finish barrier)
- Floor Finish (Oil- or Water-based)
-Synthetic Roller or T-Bar (for applying water-borne polyurethane finish)
-Paint Pad (for cutting in your edges with the sealer/finish)
Step 1: Prepare the Surface:

Before diving into the finishing process, it's vital to ensure that the hardwood floor is ready for the treatment. Begin by thoroughly cleaning the floor, removing any dirt, dust, or debris left from installing it. This can be done by sweeping or vacuuming the entire surface. Next, inspect the floor for any nails or staples that might be sticking out and secure them firmly. Finally, check for any imperfections such as dents, scratches, or gaps between floorboards. These issues should be addressed before moving forward with the finishing process. Missing knots or cracks can be filled with epoxy. Clear epoxy mixed with black coffee grounds or sawdust makes for a great look. Overfill the holes and allow the epoxy to harden.
Step 2: Sanding the Floor (Optional):
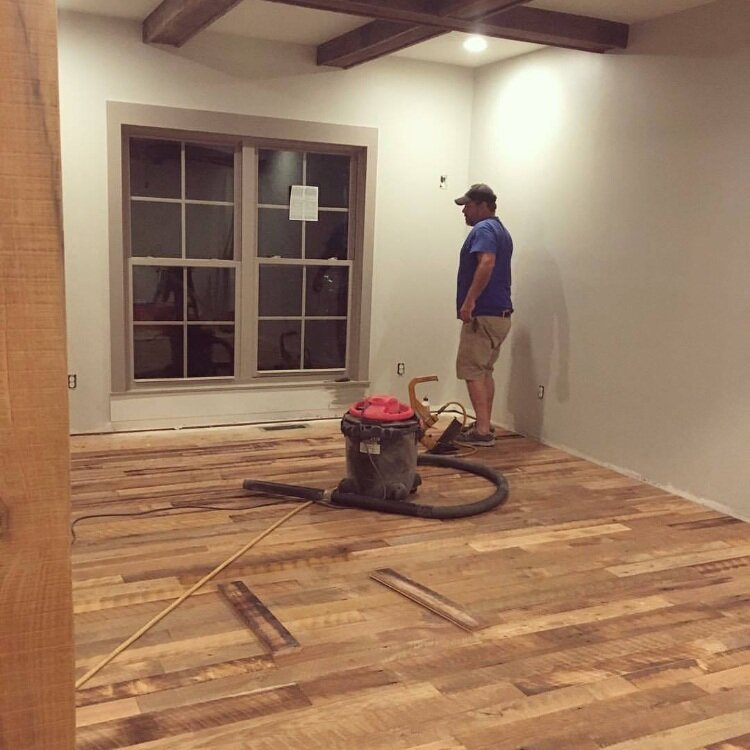
Sanding can be a crucial step that helps smooth out the surface, removes any existing finishes if you are redoing your flooring, and prepares the wood to absorb the finishing product effectively. Start by renting or purchasing a floor sander, which will save time and effort. Begin with a coarse-grit sandpaper to remove the old finish or paint layers. Progressively switch to finer-grit sandpapers, working your way towards a smooth and even surface. Be sure to sand parallel to the wood grain to avoid scratches. After sanding, use a vacuum cleaner or a tack cloth to remove any dust particles.
Step 3: Apply the Stain (Optional):

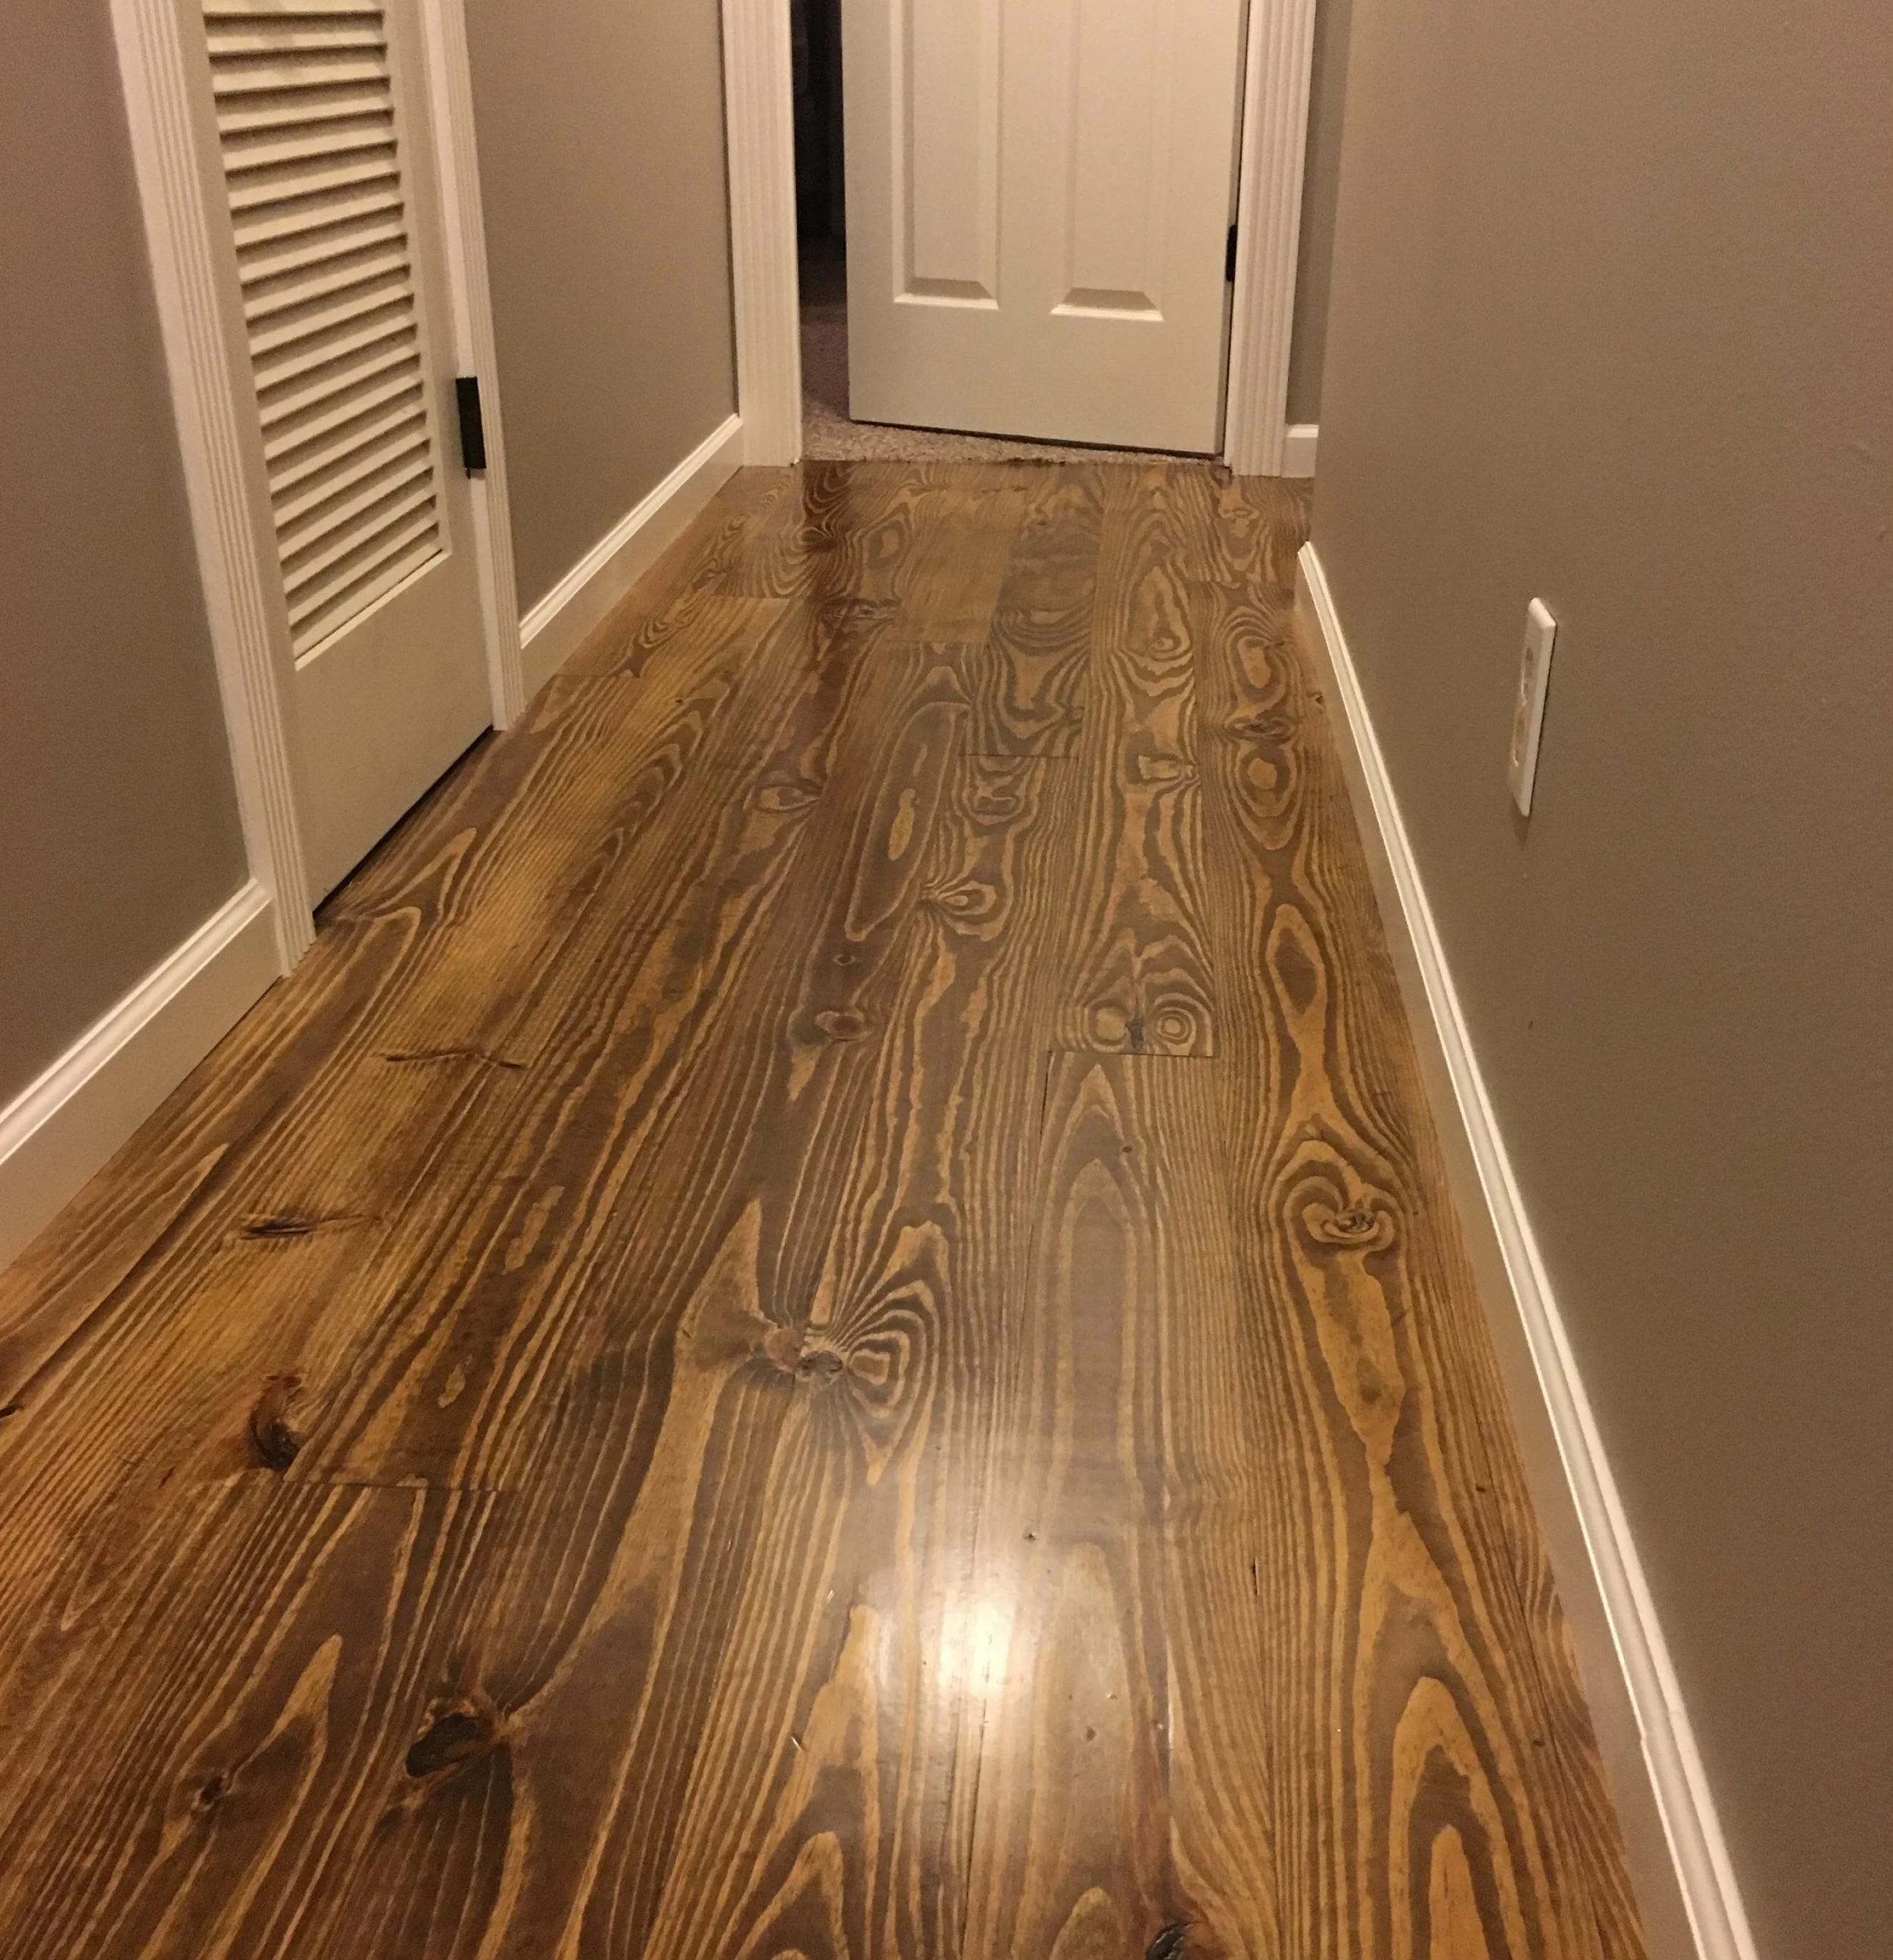
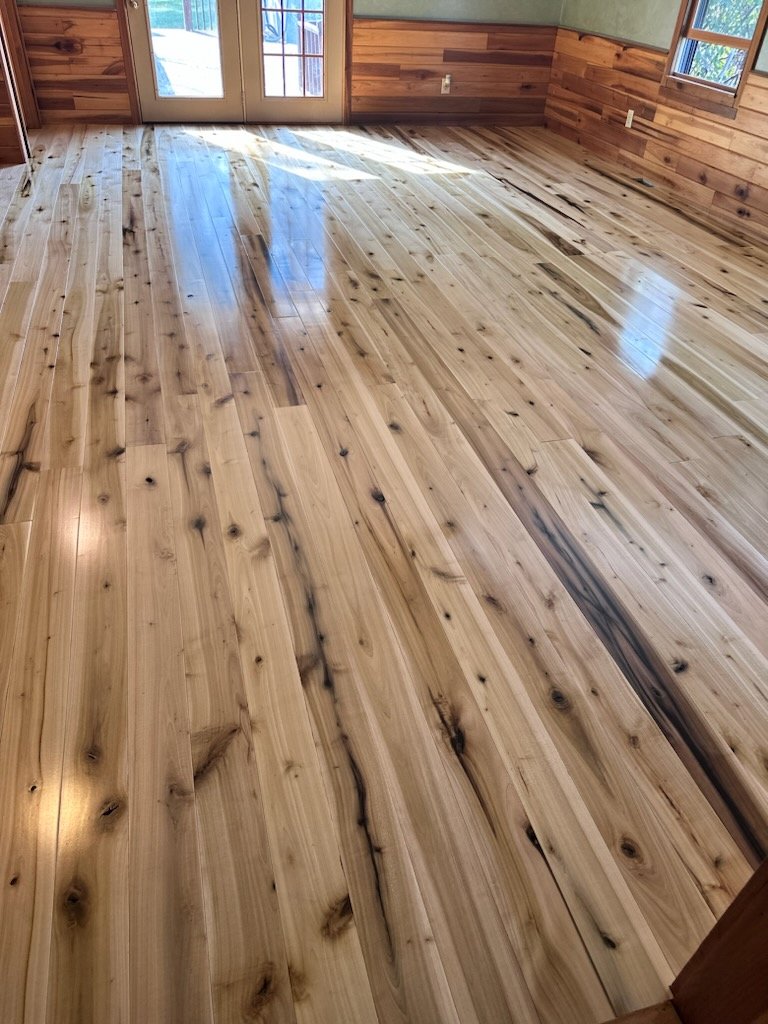
If you desire to change the color of your hardwood floor or enhance its natural tone, applying a stain is an excellent option. Test the stain on a small, inconspicuous area first to ensure you achieve the desired depth of color and character. If you find that the wood is not absorbing the stain evenly and consistently, “tack” the surface of the floor with a damp sponge or cloth before staining - this opens up the grain of the wood and allows for better absorption. When applying the stain, use a brush or a rag, and work in small sections, following the grain of the wood. Wipe off any excess stain with a clean cloth to prevent uneven coloration. Allow the stain to dry completely before moving on to the next step.
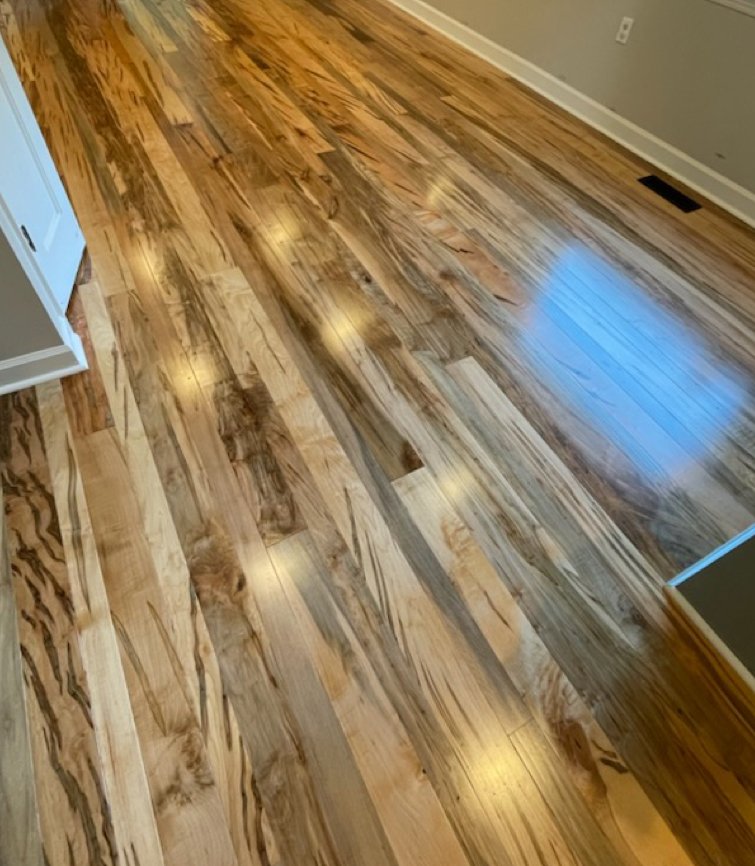
Step 4: Sealing/Finish Coats:
The next crucial step is to apply a barrier, called the “finish”, to the hardwood floor, which protects it from moisture, stains, and everyday wear. There are a multitude of options available, such as polyurethanes, varnishes, oils, and hardwax-oil finishes. Consider the specific requirements of your space and visit this blog post to learn which option may be best for your home.
Apply the chosen finish with a brush or roller, working in thin, even coats. If using a waterbourne finish over a stain, ensure your flooring is completely dry from the staining process - trapped water vapor will rise to the surface and cause bubbles in the finish coats.
Allow each coat to dry fully before applying the next - light sanding may be required between coats to achieve a smooth finish. Depending on the product, multiple coats may be necessary; we recommend a minimum of two, regardless.


Step 5: Final Touches:
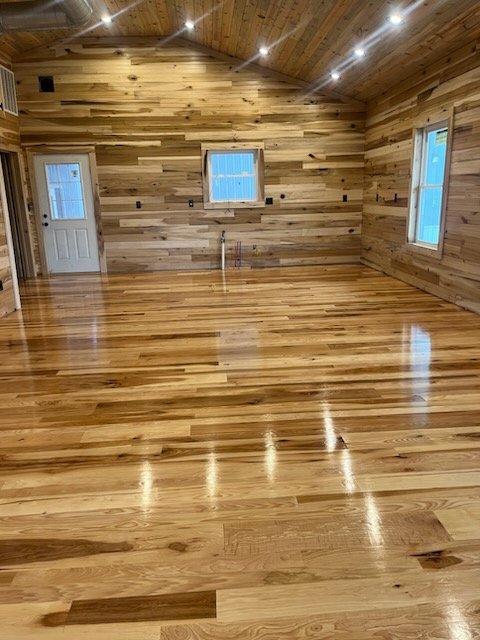
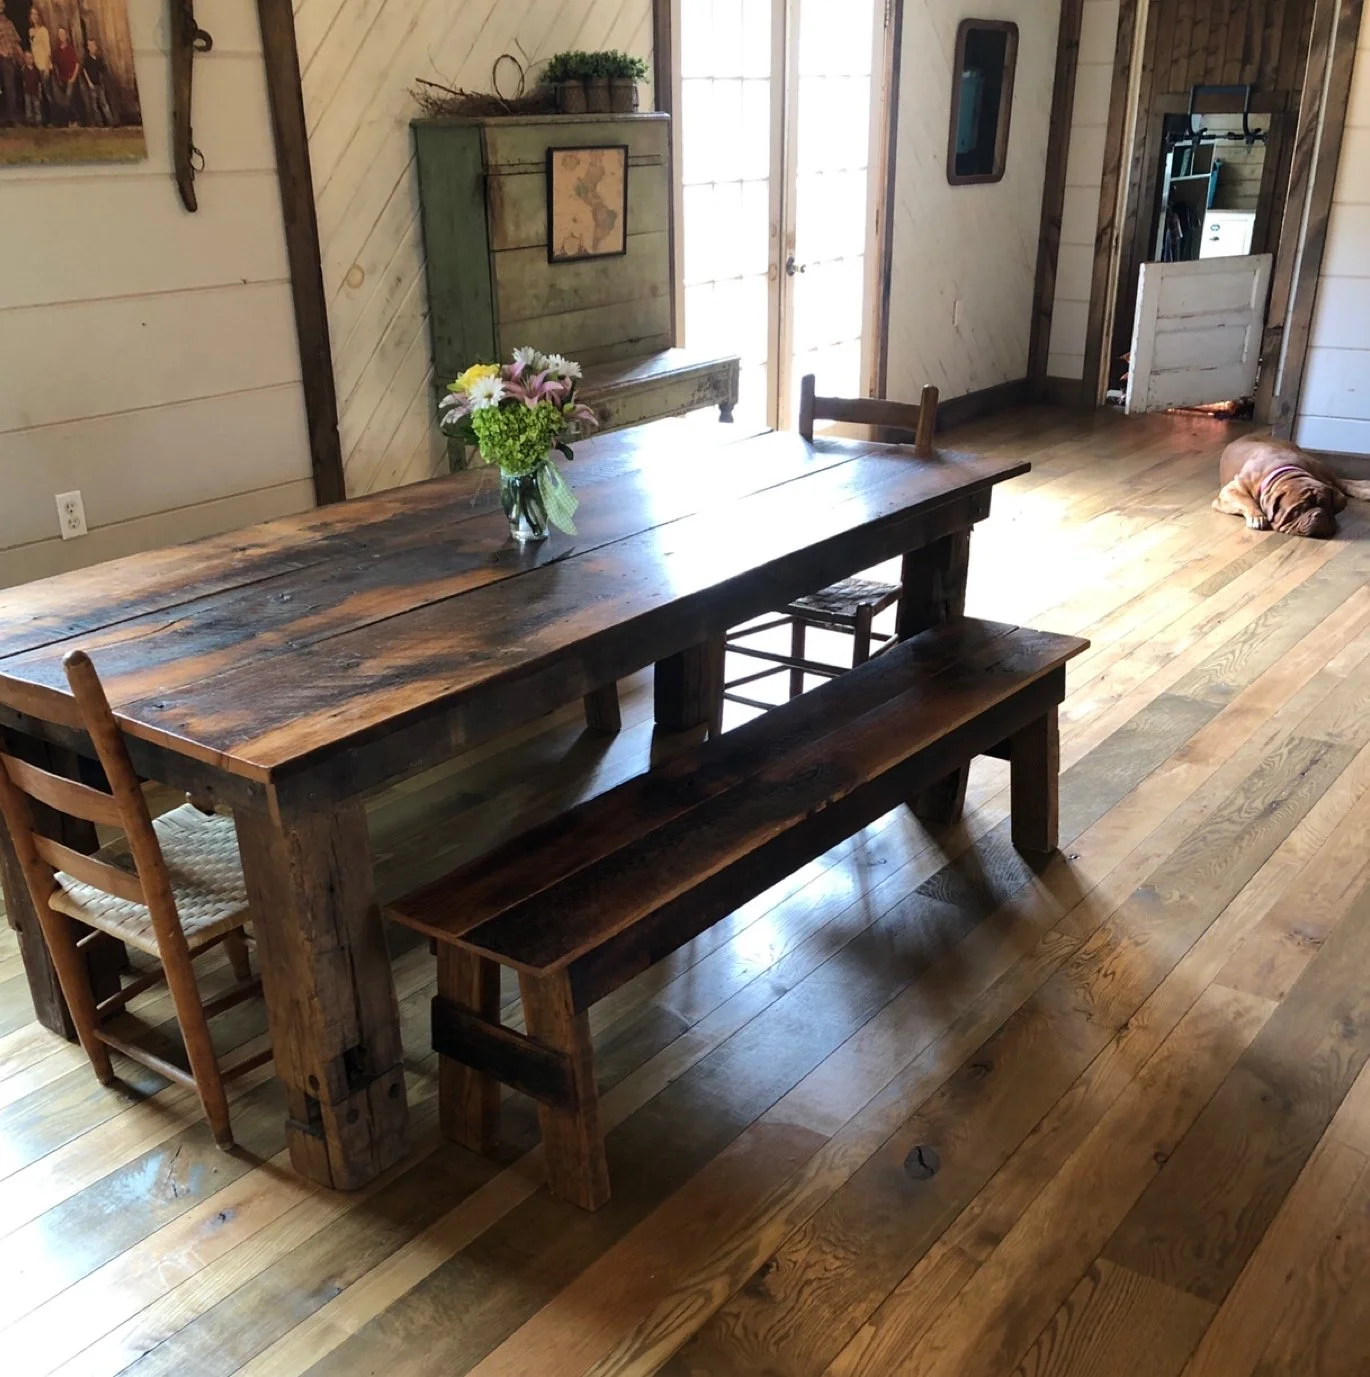
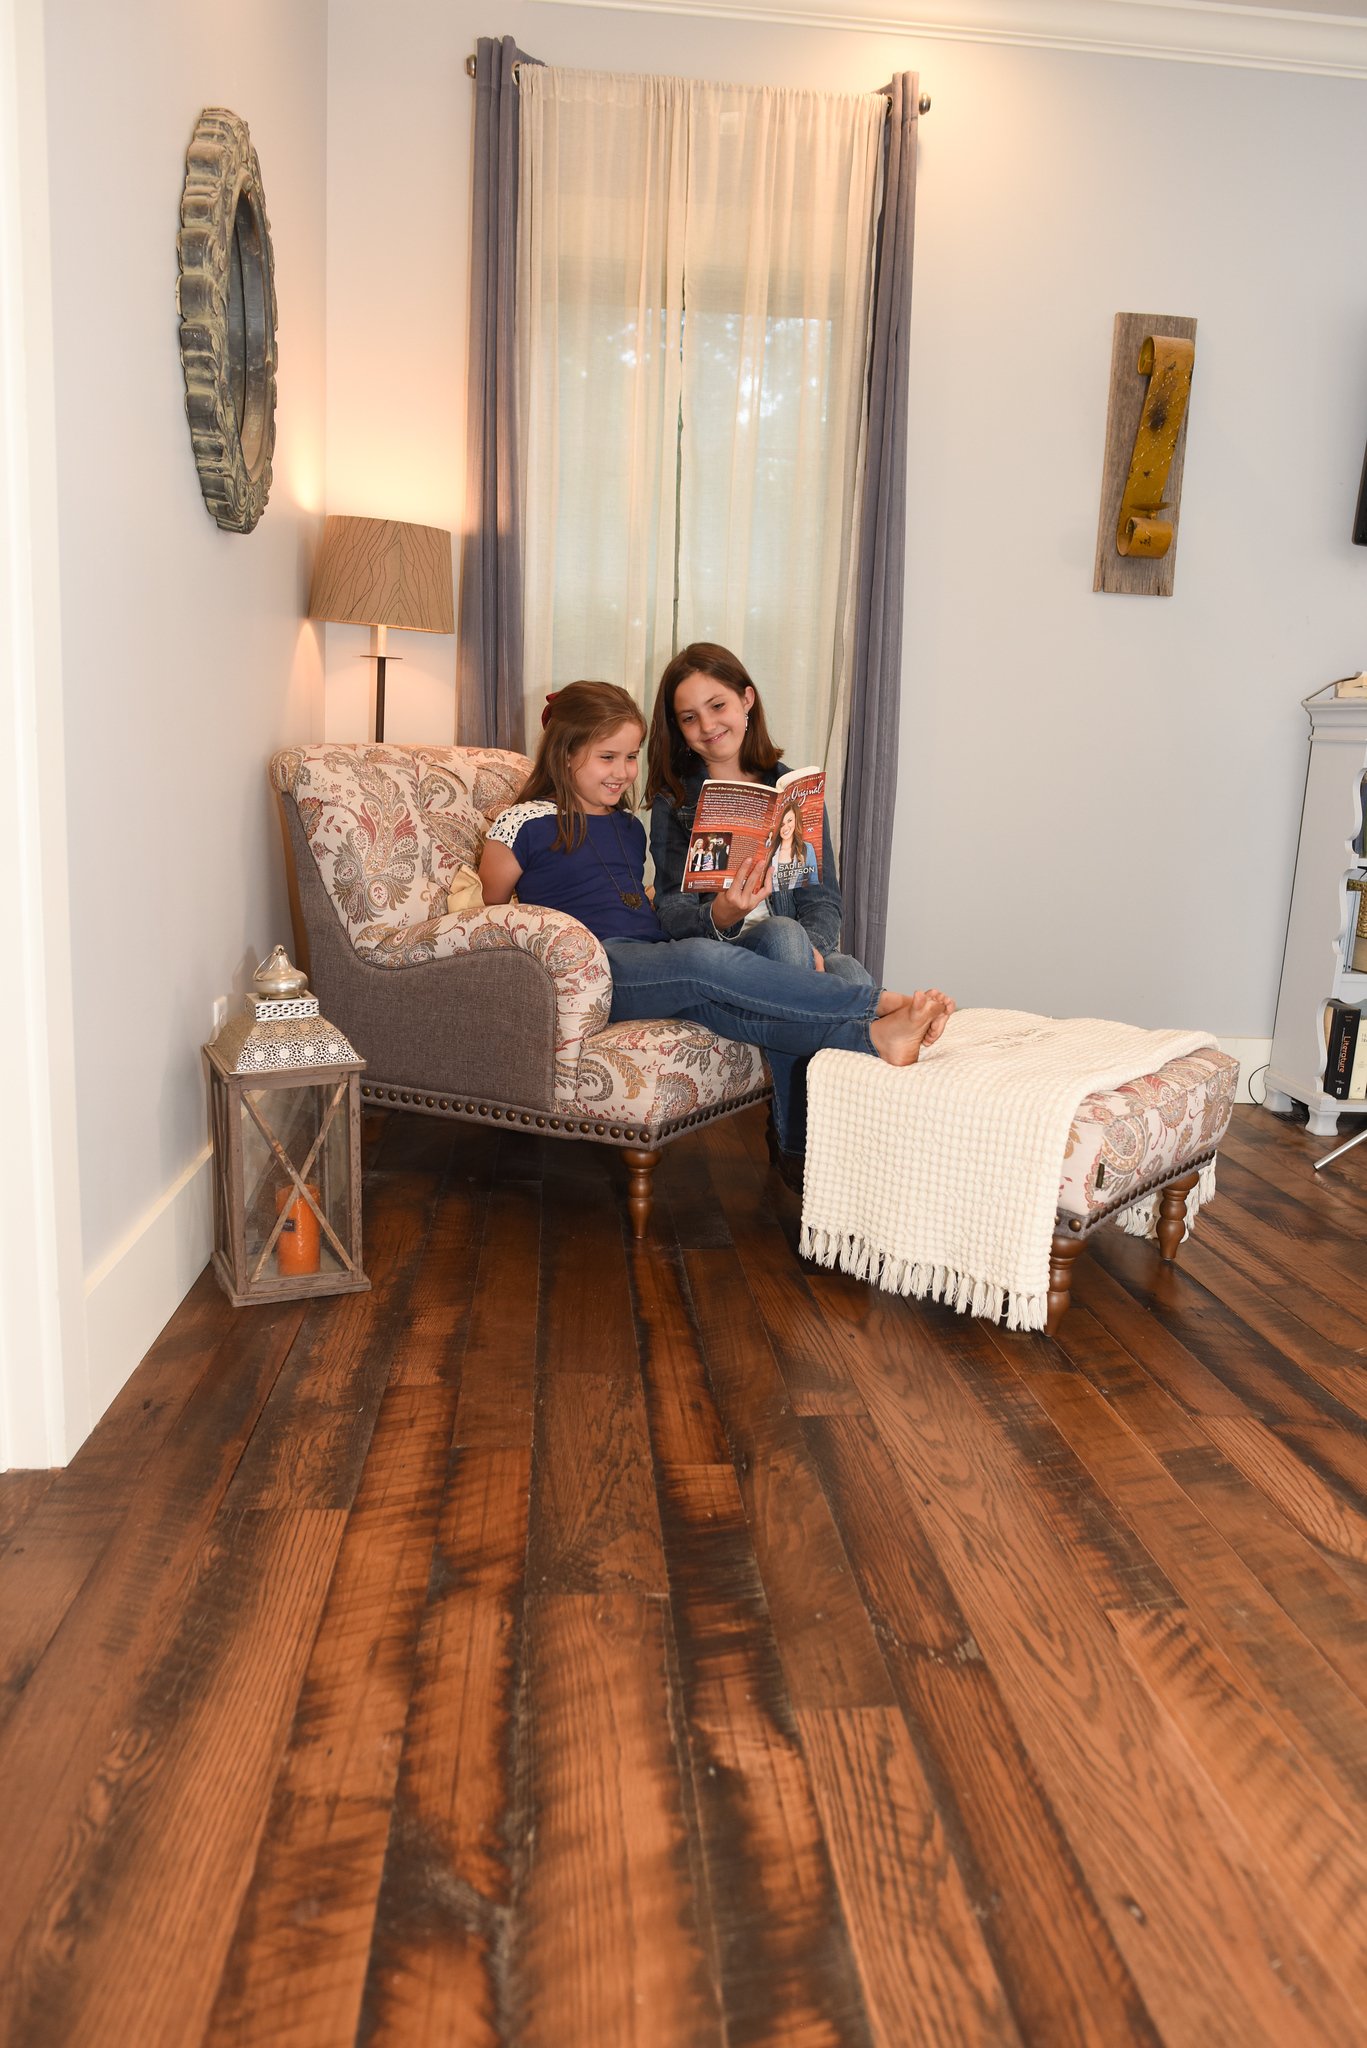
Once the final coat of finish has dried completely, inspect the hardwood floor for any imperfections. If you notice any rough spots or debris trapped in the finish and you used an oil- or wax-based finish, you can gently sand the affected areas and apply an additional coat to restore the smoothness. Ensure the finish is cured well enough to the point that you can bring your furniture or allow pets into the room. The finish manufacturer will specify the time required for this, typically on the container. Lastly, step back and admire your work. You did it, and you did a fantastic job! We hope your new floors stand firm for a lifetime and facilitate memories that last even longer!
Conclusion:
Congratulations! You now know how to finish your hardwood flooring! Finishing hardwood floors is a rewarding process that transforms raw wood into a stunning, durable, and inviting surface. By following the essential steps outlined in this guide, you can achieve a professional-looking finish that enhances the natural beauty of your hardwood floors while ensuring their protection for years to come.
Now that you’ve read the post, leave a comment down below and tell us what you found most helpful, or ask a question and we will respond as quickly as possible! If you have anything you wish we would add, then feel free to give us a suggestion on how we can make our post better in the future!
Also, we love to see people’s projects and would love to see yours as well! Go here to send us the pictures of your floors and give us some details about how you did your project! Who knows, maybe your pictures will be featured on our Facebook page or website!